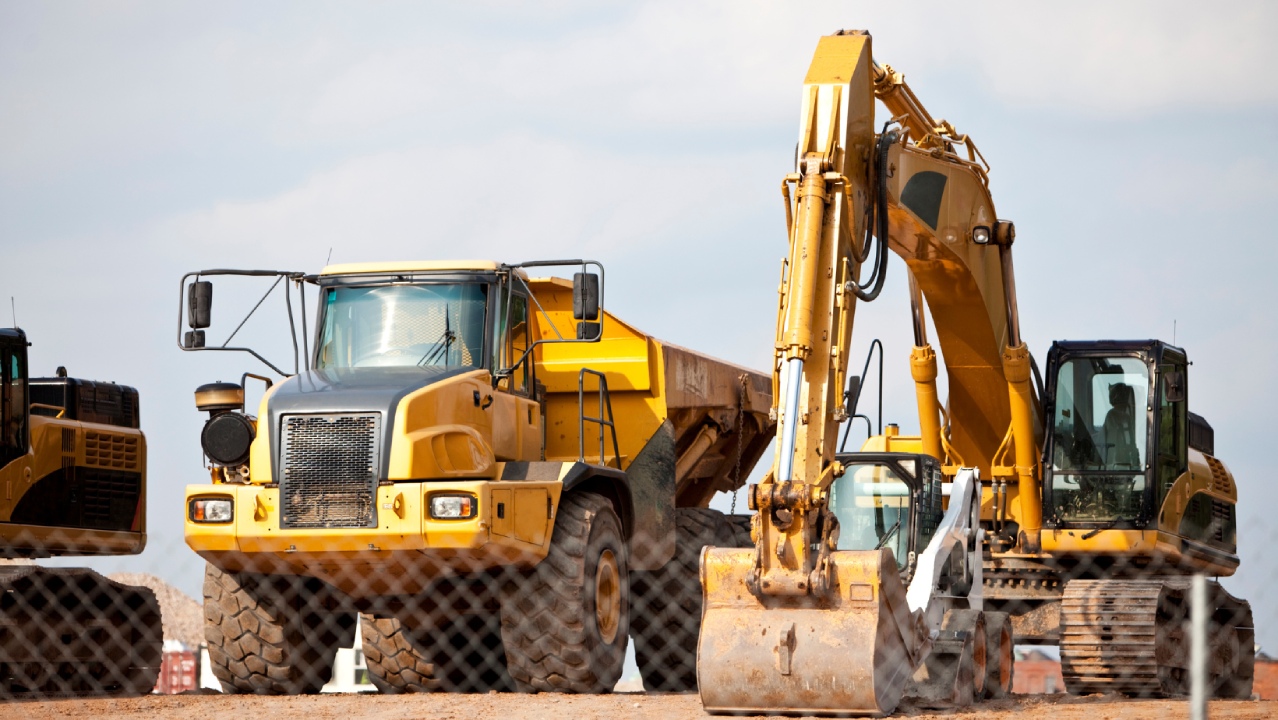
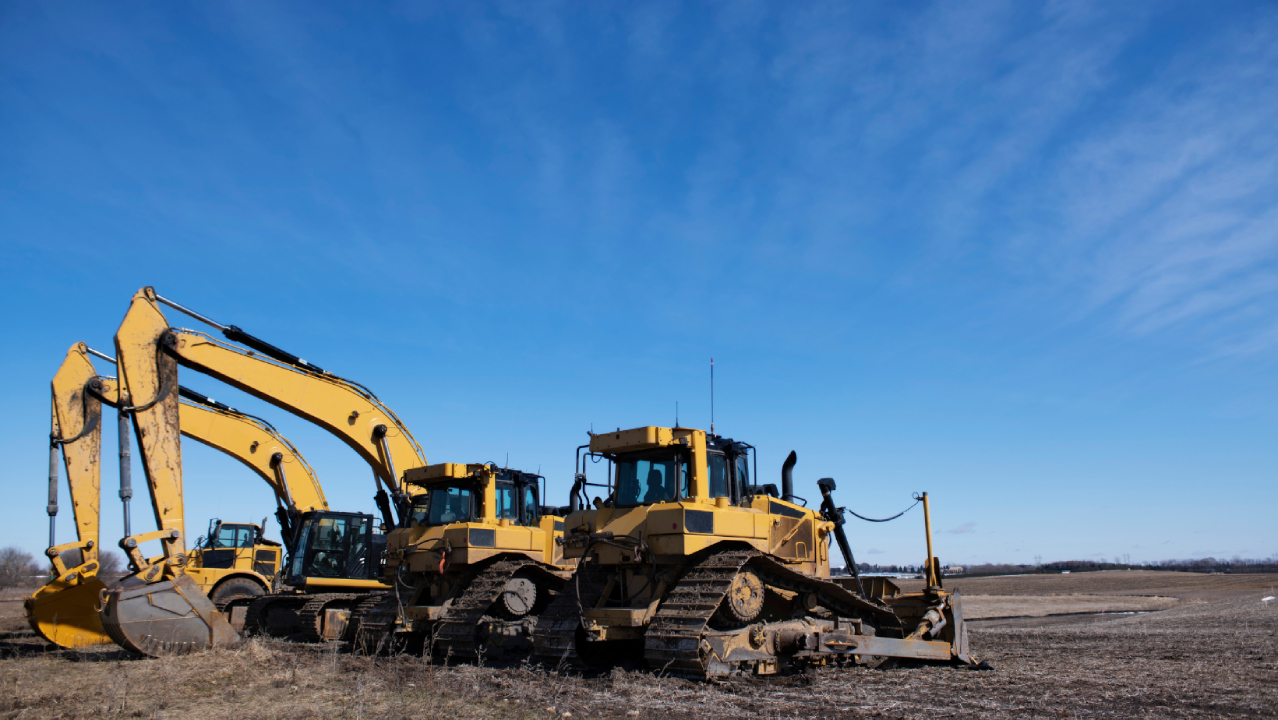
Equipment repair eats at the bottom line. Every minute a machine is down is a minute of lost time, and minutes turn into hours. While downtime is sometimes unavoidable, workers can minimize it by having the knowledge and the right equipment on-hand to cut, prep and weld damaged and worn sections of steel quickly. Source: http://compactequip.com/hand-tools/welding-fields-power-handtools/
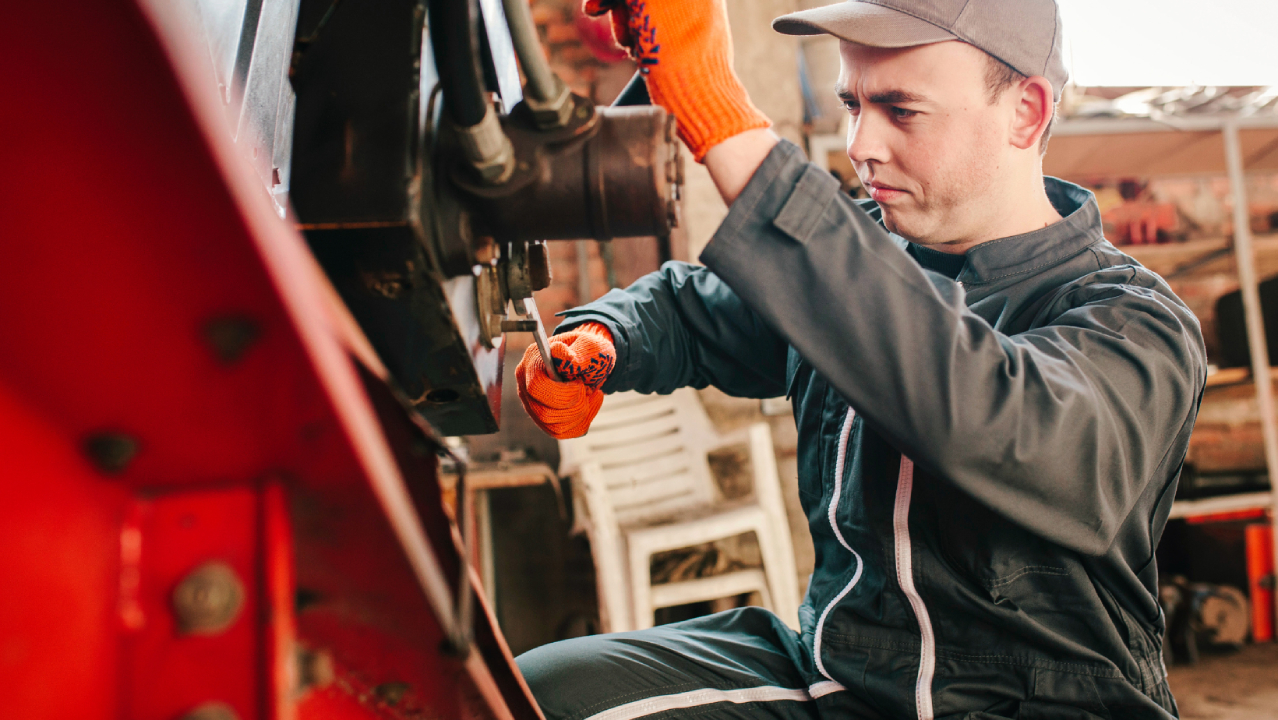
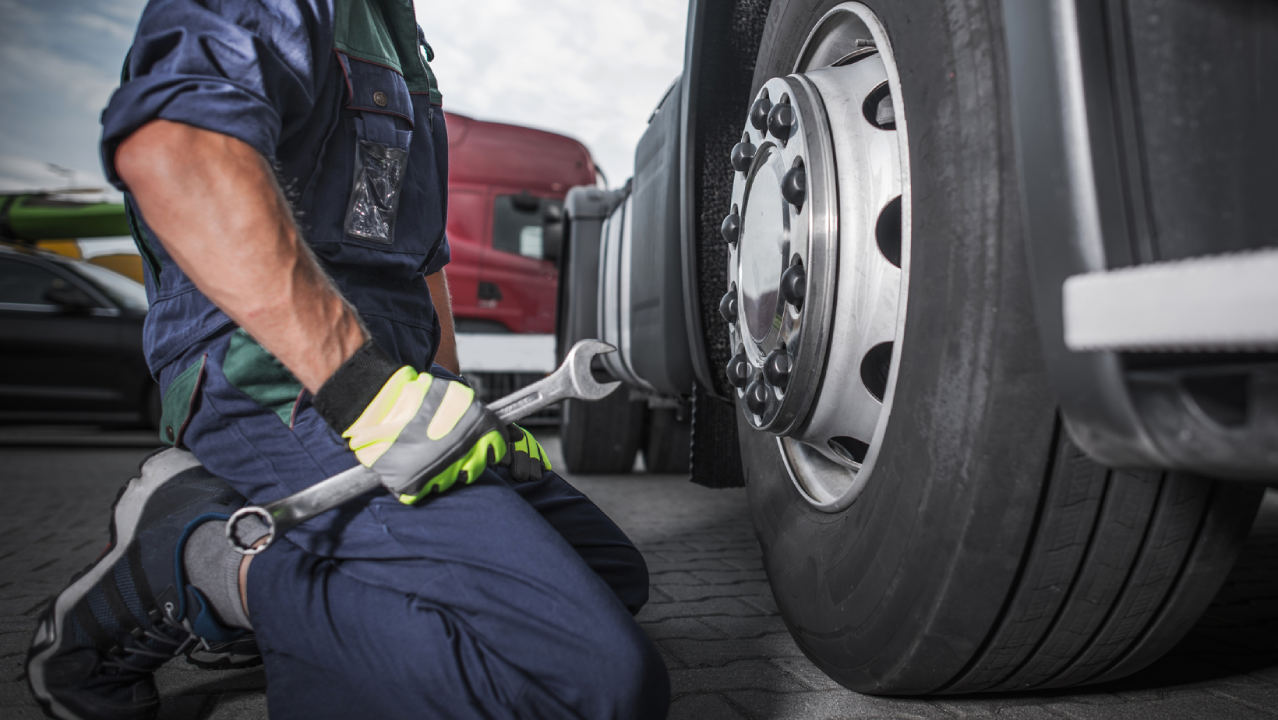
Equipment repair eats at the bottom line. Every minute a machine is down is a minute of lost time, and minutes turn into hours. While downtime is sometimes unavoidable, workers can minimize it by having the knowledge and the right equipment on-hand to cut, prep and weld damaged and worn sections of steel quickly. Being prepared for unexpected failures — which includes having the right engine-driven welder/generator on a maintenance truck — can make the difference between a profitable day and a day of lost profits.
Step 1: Cut Out Broken Steel
The first step in repairing any broken piece of steel is cutting out the damaged piece. Most contractors have oxy-fuel equipment readily available for cutting, brazing, soldering and preheating weld surfaces. However, plasma cutters offer lightweight portability and efficiently run off most engine-driven welder/generators, cutting up to 3/4 in., with 10,000 watts or more generator power. Engine-driven welder/generators also offer carbon arc gouging, though capacity varies greatly based on unit amperage.
When repairing a damaged section, removing all rough edges for proper fit up with the replacement piece can ensure faster repairs. Whether Flux-Cored or Stick welding, it is important to grind and remove any rust or oils that exist where the two pieces will be joined. While Flux-Cored and Stick welding are somewhat forgiving of an unclean surface, any contaminates may negatively affect weld penetration and lead to cracking or lack of fusion. Extra time spent on grinding and cleaning beforehand can prevent failures later.
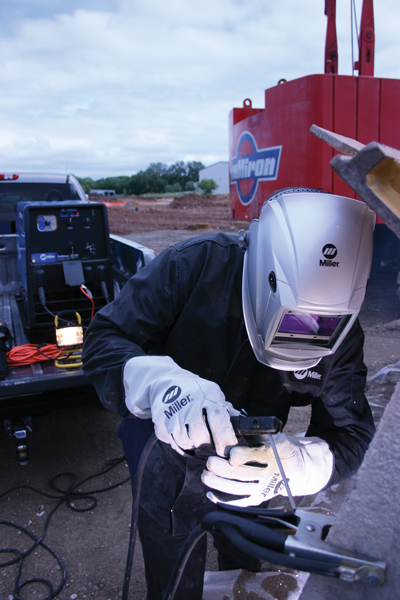
Step 2: Match and Cut Replacement Steel
Equipment constructed out of abrasion resistant steel should be replaced with material offering an exact match in strength. Other components might be constructed of different alloys. Each application varies in terms of level of hardness, wear, resistance and tensile strength, so it is important to consult with an equipment dealer and stock up on the matching steel. An exact match helps guarantee weld quality and longevity, whereas steel of lesser strength can lead to premature failure and more downtime. Steel should be cut to its required size and the edges beveled at about a 30-degree angle. This angle allows for better penetration and is done effectively with an oxy-fuel or plasma cutting system. Rather than beveling the entire edge, leave a small portion at the bottom of the groove — about a nickel’s width — to better support the arc.
Step 3: Preheat to Eliminate Cracking
Fit the replacement piece into place and double check for any gaps and/or dirt, which can weaken the weld. After achieving proper fit, preheat the welding surface using an oxy-fuel torch outfitted with a special “rosebud” tip that widens the flame. This preheating removes hydrogen that can lead to cracking when an extremely hot welding arc is applied to a cold piece of steel. Preheating temperatures (200 to 400 degrees Fahrenheit is common) vary based on the material. Consult a welding distributor for specific heating instructions. Use a temp stick, sometimes referred to as a heat crayon, to check the heat. This marking changes colors at different temperatures, letting the operator know when a specific temperature range is reached and the piece is ready for welding.
Step 4: Electrode Selection and Welding Technique
Stick welding remains the most popular process for field repair, as it requires less equipment and is more forgiving in windy conditions. Common electrodes used in Stick welding are AWS E6010, E6011, E6013, E7018 and E7024 in diameters from 1/8 to 5/32 in. Each of these electrodes offer all-position welding capabilities (except 7024) and provide compatibility with the high tensile strength steels encountered in the field. Welding suppliers can provide more specific recommendations for the intended application.
A basic welding sequence may be as follows: Start by making a root pass with a smaller diameter (1/8-in.) electrode. Popular for the first pass, an E6010 stick electrode lends flexibility at this stage of weld and works well on open-root joints. The next passes can be made with a larger diameter (5/32-in.) stick electrode to deposit weld metal faster, as well as a rod with different properties. For example, an E7018 stick electrode is popular for its high strength. Repeated passes should be made until completion, with the slag (protective flux coating) removed with a grinder in between each pass.
Step 5: Select a Welding System
Selecting the right machine is based largely on the diameter of electrodes used. A 1/8-in. stick electrode welds up to about 145 amps, while a 5/32-in. stick electrode works best around 180 amps. Therefore, a welder/generator with a 100 percent duty cycle at 325 amps offers more than enough welding power to fill most Stick welding needs.
If carbon arc gouging applications will be required regularly, the machine size needs to match the carbon diameter that will be run. If performing field repairs with the Flux-Cored process, a welder/generator with constant voltage (CV) output provides far superior wire welding performance than a constant current (CC) machine. A CV output is also necessary for short-circuit MIG welding for general fabrication. Amperage requirements vary based on the type and diameter of wire being used, but 250 to 350 amps are usually sufficient for most applications.
Welding manufacturers have reduced the physical size and weight of machines, made them much quieter and added other capabilities optimal for maintenance trucks. Contractors benefit from the dual welding/power generation functions, which further save space on a truck by eliminating the need for a standalone generator and providing the power to run grinders, drills, chop saws, lights and air compressors (to run air tools) on the jobsite.
For heavy-duty repairs and space savings on trucks, fleet managers may want to consider a welder/generator option with dual-operator capabilities. This type of configuration maximizes fuel savings and increases flexibility by allowing multiple welders to be plugged in to create a multioperator platform. For proper equipment and machine size selection, it is important to identify the amount of space required on a maintenance truck and to understand the needs and applications that will be used most.
Some contractors opt to designate a portion of their fleet as “general maintenance trucks” and equip them with smaller engine drives, while designating others as “heavy-duty repair trucks” and equip them with more powerful and versatile units. Taking time now to investigate equipment options will save time when it counts most — when a critical piece of machinery sits idle, waiting to be fixed. Using the tips outlined here — and the right engine-driven welder/generator for the application — can help guarantee that critical machinery starts making money for the contractor when field repair becomes necessary.

